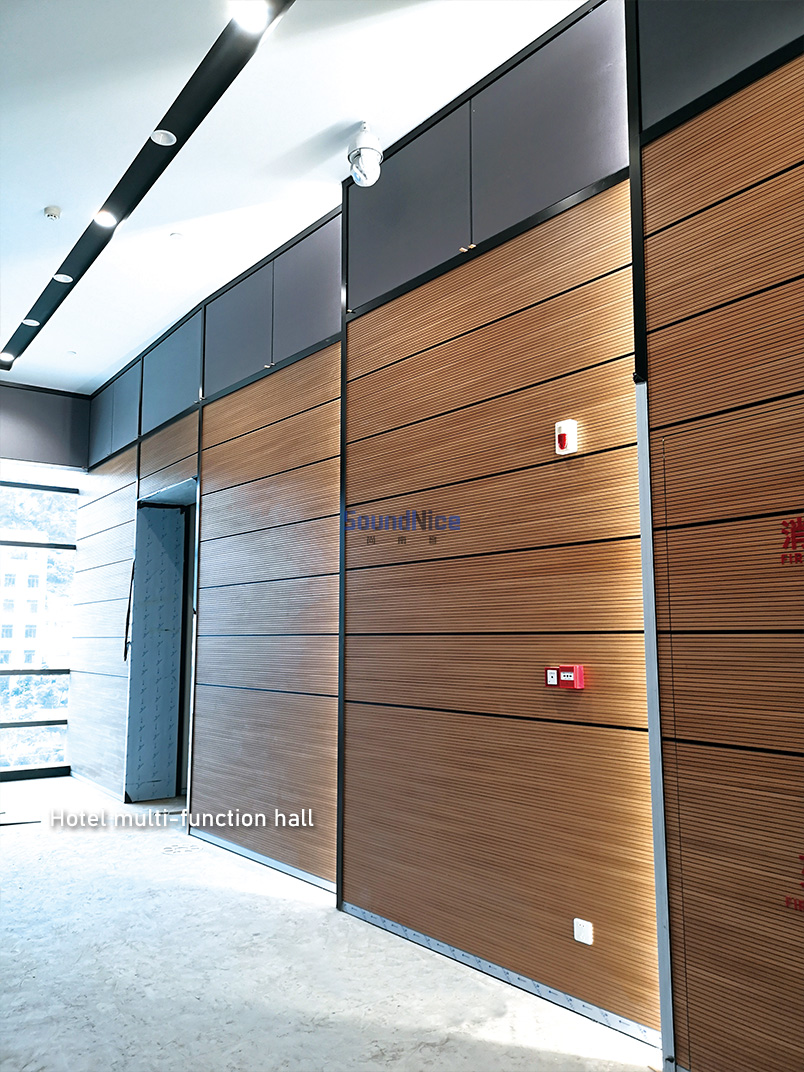
Acoustic Panel Installation: How To Install?
In the realm of interior design and room acoustics, the significance of acoustic panels cannot be overstated. Beyond their aesthetic appeal, these unassuming panels play a pivotal role in creating optimal sound environments for various spaces, ranging from home theaters to recording studios.
To unlock their full potential, a precise and well-informed installation process is paramount. This article serves as your comprehensive guide to mastering the art of acoustic panel installation.
Introduction
Understanding the Importance of Acoustic Panels
In an era characterized by open-concept designs and minimalist interiors, the challenge of managing sound has become increasingly pronounced. Acoustic panels, often made from specialized materials designed to absorb or diffuse sound waves, provide an effective solution to this challenge. By mitigating sound reflections and echoes, these panels enhance audio clarity and overall comfort within a space.
Benefits of Proper Acoustic Panel Installation
Properly installed acoustic panels yield an array of benefits. Beyond their sonic advantages, they contribute to improved speech intelligibility, reduced auditory fatigue, and enhanced music or movie playback quality. Moreover, they can significantly elevate the aesthetic appeal of a room, functioning as both functional sound solutions and visually pleasing design elements.
1. Preparing for Installation
Assessing the Room's Acoustic Needs
Before embarking on your acoustic panel installation journey, a thorough assessment of the room's acoustic characteristics is essential. Consider the room's primary function, its dimensions, and the specific acoustic issues you aim to address. Are you dealing with excessive reverb, flutter echoes, or a need for sound isolation?
Choosing the Right Acoustic Panels
Selecting the appropriate acoustic panels is a critical decision. Panels come in various types, such as absorptive, diffusive, or bass traps, each catering to distinct acoustic challenges. It's essential to align the panel's capabilities with the room's specific requirements to achieve optimal results.
Gathering Necessary Tools and Materials
Equipping yourself with the right tools ensures a smooth installation process. Depending on the chosen mounting method, you might require impaling clips, adhesive, Z-clips, a level, measuring tape, and a stud finder.
2. Step-by-Step Installation Process
Identifying Optimal Panel
PlacementStrategic panel placement is key to effective sound control. Identify the room's sound reflection points - typically where sound waves bounce off walls - and prioritize these areas for acoustic panel installation. Consider the room's dimensions and layout to ensure even coverage.
Marking Panel Positions and Mounting Points
Precision is paramount when marking the positions for both panels and mounting hardware. Using measurements, mark the wall sections where panels will be installed, and determine the spacing between panels for uniform coverage.
Installing Mounting Hardware
Depending on the chosen method, install the appropriate mounting hardware. Impaling clips, adhesive strips, or Z-clips are common choices. Adhere strictly to the manufacturer's guidelines for mount placement to guarantee stability.
Mounting Acoustic Panels
Align the panels with the marked mounting points and gently press or attach them to the wall. Apply consistent pressure to ensure a secure attachment that withstands time.

3. Fine-tuning and Arrangement
Checking for Panel Stability and Alignment
After installing the panels, evaluate their stability and alignment. Panels should be securely affixed to the wall without any wobbling or shifting.
Addressing Any Gaps or Overlaps
Inspect the panels for gaps or overlaps that might compromise their acoustic performance. A seamless installation not only optimizes sound absorption but also contributes to the room's visual harmony.
Assessing Sound Quality and Adjustments
Engage in before-and-after listening tests to gauge the impact of the installed panels on sound quality. Note any remaining acoustic issues and consider making minor adjustments to panel placement to achieve the desired sonic environment.
4. Maintenance and Additional Tips
Regular Cleaning and Dusting
To maintain the effectiveness of your acoustic panels, incorporate them into your cleaning routine. Gently dust the panels to prevent the buildup of particles that could impede their acoustic properties.
Re-evaluating Acoustic Needs Over Time
As your room's usage evolves, periodically reassess its acoustic requirements. Factors like furniture rearrangement or equipment upgrades might warrant adjustments to panel placement or additional panels.
Incorporating Panels into Aesthetics and Decor
Integrate acoustic panels into your room's aesthetic vision. Explore creative ways to blend panels seamlessly into the décor, either by selecting panels with visually appealing designs or by disguising them within wall art arrangements.
Conclusion
The art of acoustic panel installation merges science and aesthetics to transform any space into an acoustically optimized haven. By following these comprehensive guidelines, you'll embark on a journey that not only enhances sound quality but also elevates the overall sensory experience within your living or working environment.


Leave a comment